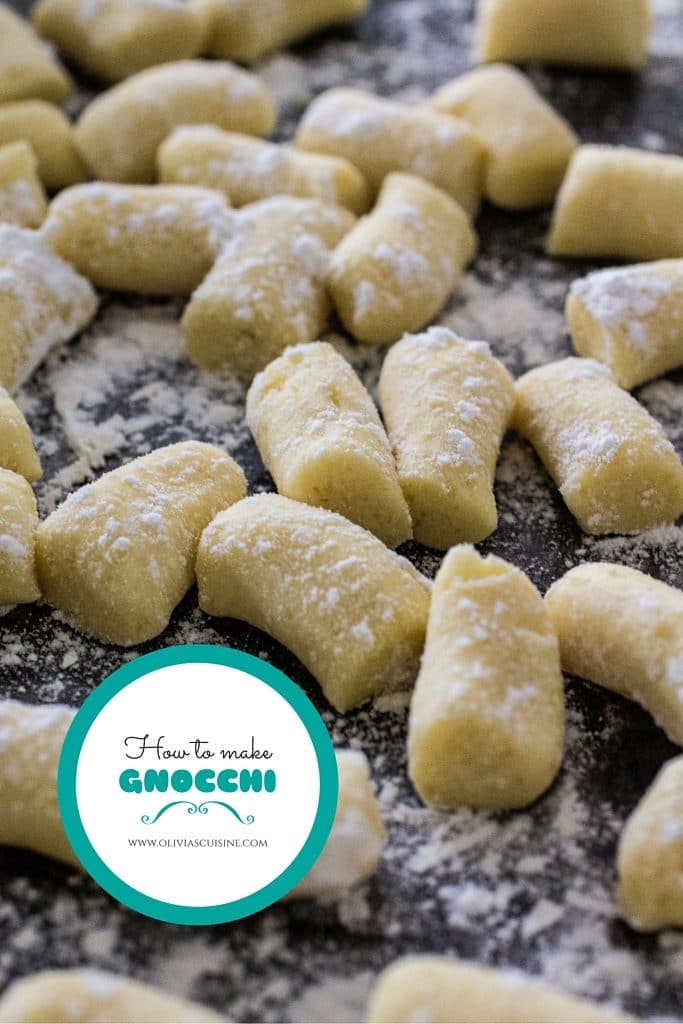
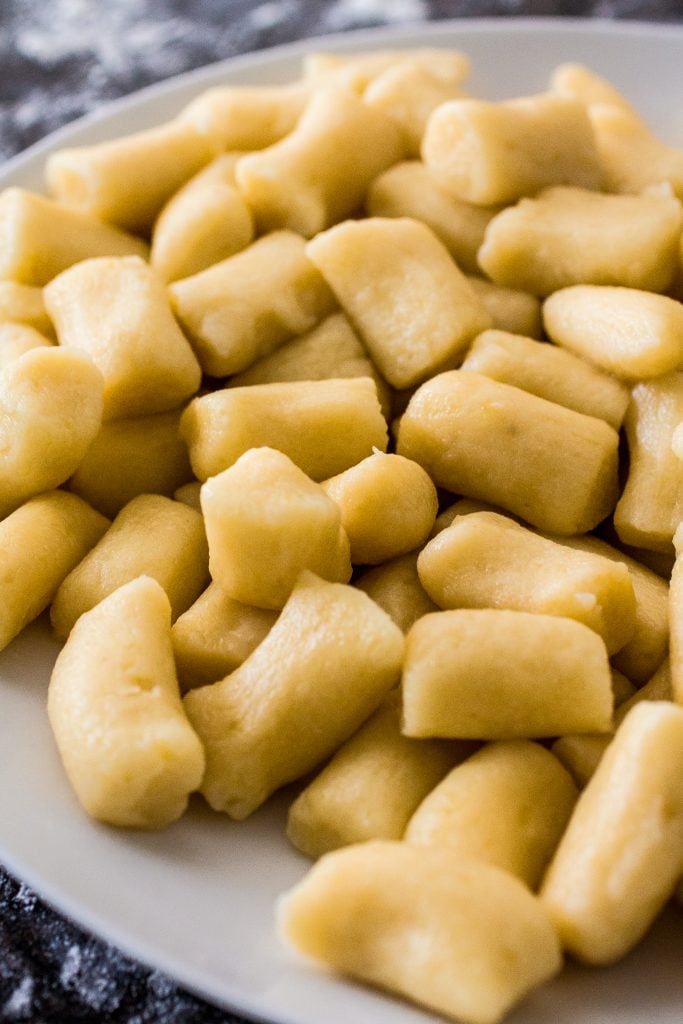
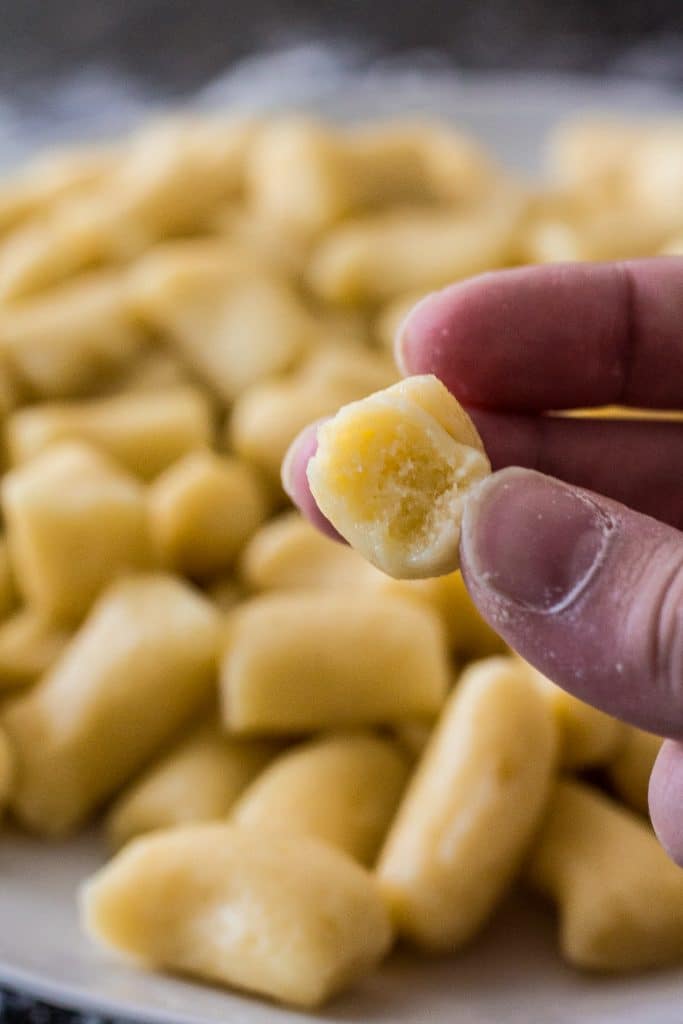
Who doesn’t love gnocchi? These delicious soft potato dumplings that go with pretty much any sauce you can think of. When made right, it is like biting into little pillows of heaven. But wait a second… “When made right”? That right there is the reason most people are intimidated by making gnocchi – or any homemade pasta, really – at home. Of course, some knowledge and technique go a long way and help you make pretty decent gnocchi, but the whole “making gnocchi at home is difficult” state of mind drives me nuts! Ok, your gnocchi may not be as pillowy as Mario Batali’s, but unless you’re cooking for a panel of Food Network judges, who’s gonna notice? My point is: ignore the snobs and just do it. Have fun! Get your kitchen all dirty and full of flour. Maybe your gnocchi won’t be as perfect the first time, but practice will definitely get it there and soon you will be the gnocchi maker of your family. I’m in no way a pro. I didn’t go to culinary school and I’m not claiming my gnocchi could win a competition. But it’s pretty damn good gnocchi and my family and friends love it! It is pretty fluffy/pillowy and flavorful and I love making it, so I decided it was time to share it with you guys. I also have a – spoiler alert! – Gnocchi with Creamy Asiago Sauce recipe coming to the blog tomorrow, so I thought we should get the whole “how to make gnocchi” part out of the way so we can then focus on the delicious cheese sauce.
What kind of potatoes should I use?
Honestly, any kind of potato will do. I like to use Yukon Gold potatoes as they have more flavor. However, the gnocchi snobs claim that the Russet potatoes have more starch and are drier than the Yukon variety, therefore better to make soft gnocchi, as you won’t need as much flour to soak the moisture. Again, just ignore that and make your gnocchi with whatever potatoes you have at home. Or, if you have both, practice with both and decide which one you like better. After all, at the end of the day it is all about personal preference, isn’t it?
Marco Canora claims that older potatoes are better ’cause they will be drier and starchier. So if you happen to have potatoes that are budding, just use them to make gnocchi!
To bake, or not to bake, that is the question.
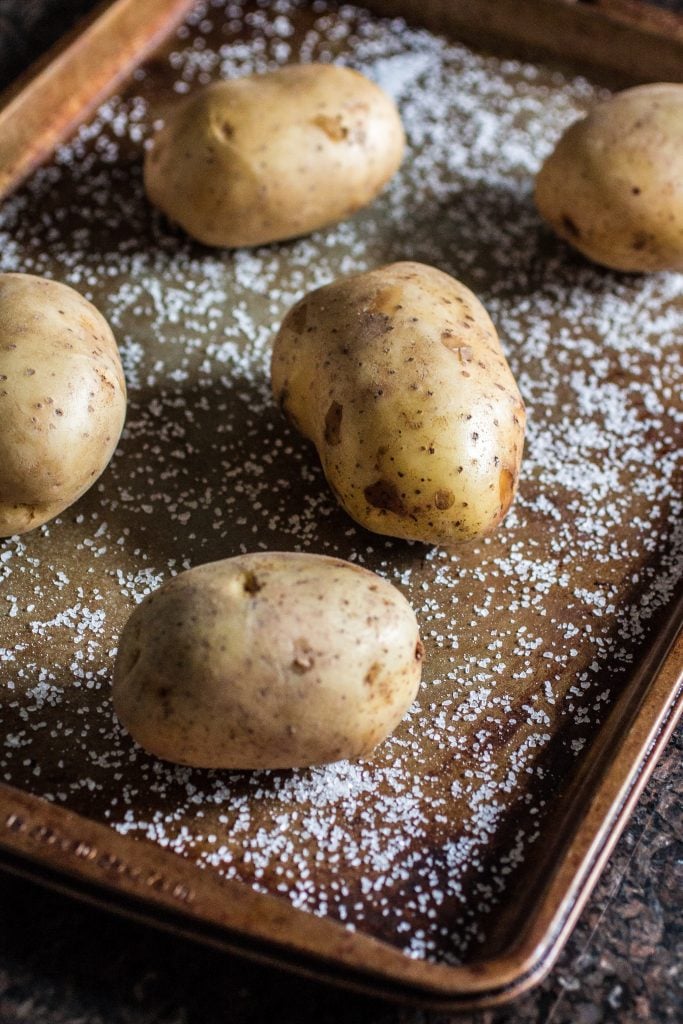
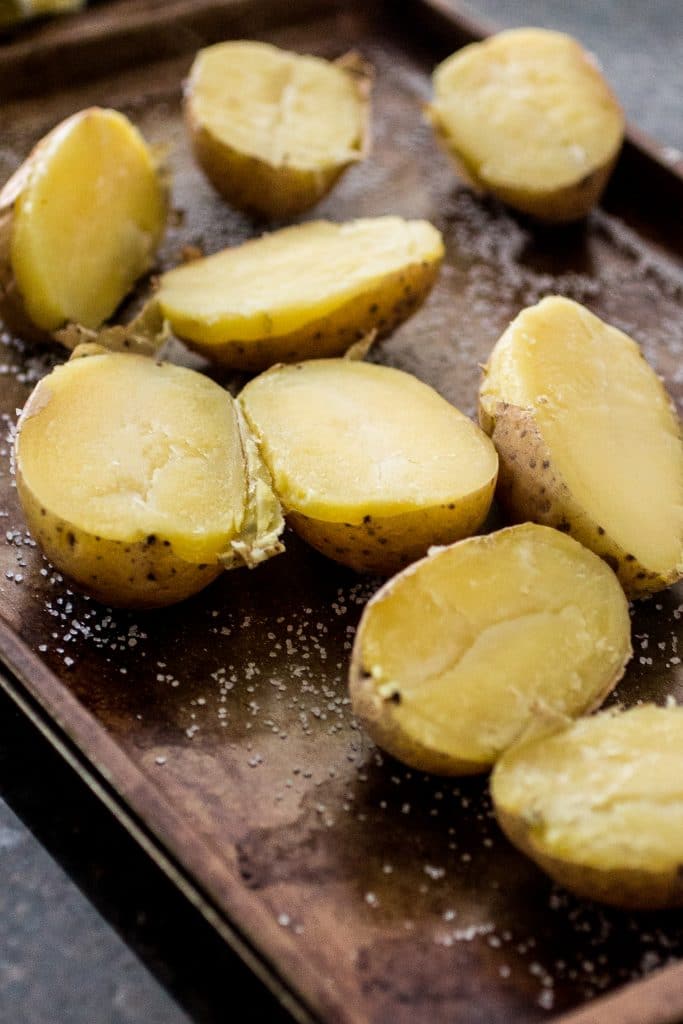
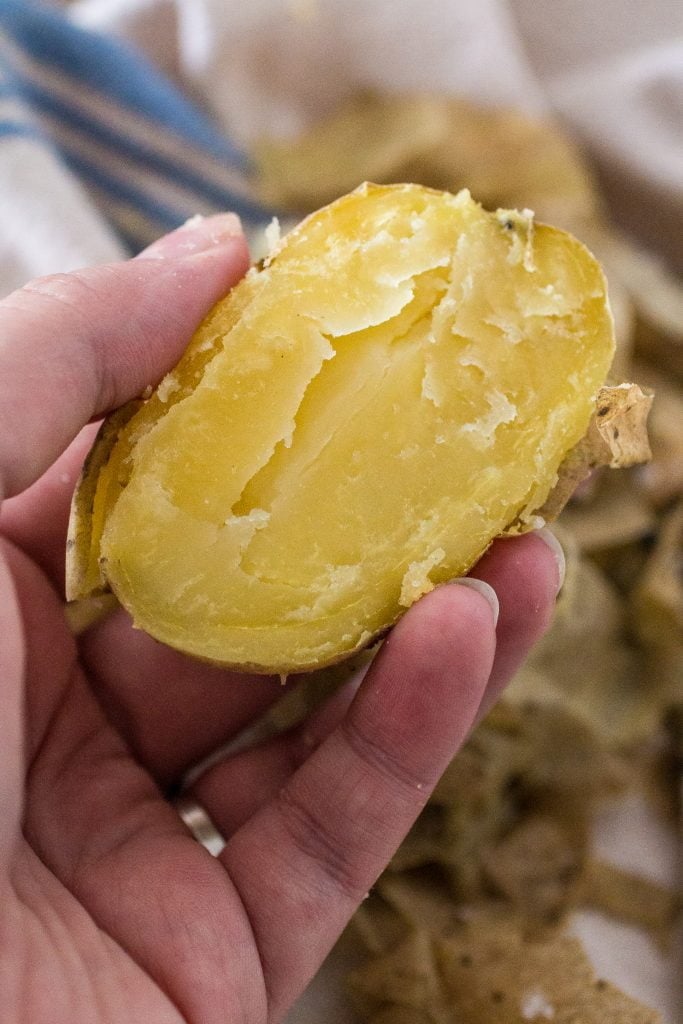
Here is the part when even the snobs disagree. Batali, for example, will tell you to boil the potatoes. However, since we are trying to get rid of the moisture here – less moisture equals less flour – I choose to bake my potatoes (pierced several times with a fork), at a 350F degree oven, on a bed of coarse salt to draw the excess moisture. Also, work with your potatoes as soon as they are out of the oven – if you can handle them, of course – as they will be steamy and more water will evaporate from the potatoes. Do you see that picture I posted above? This is a beautiful dry baked potato, perfect for gnocchi! (Left over baked potatoes are also a great excuse to make delicious gnocchi.)
The Potato Ricer
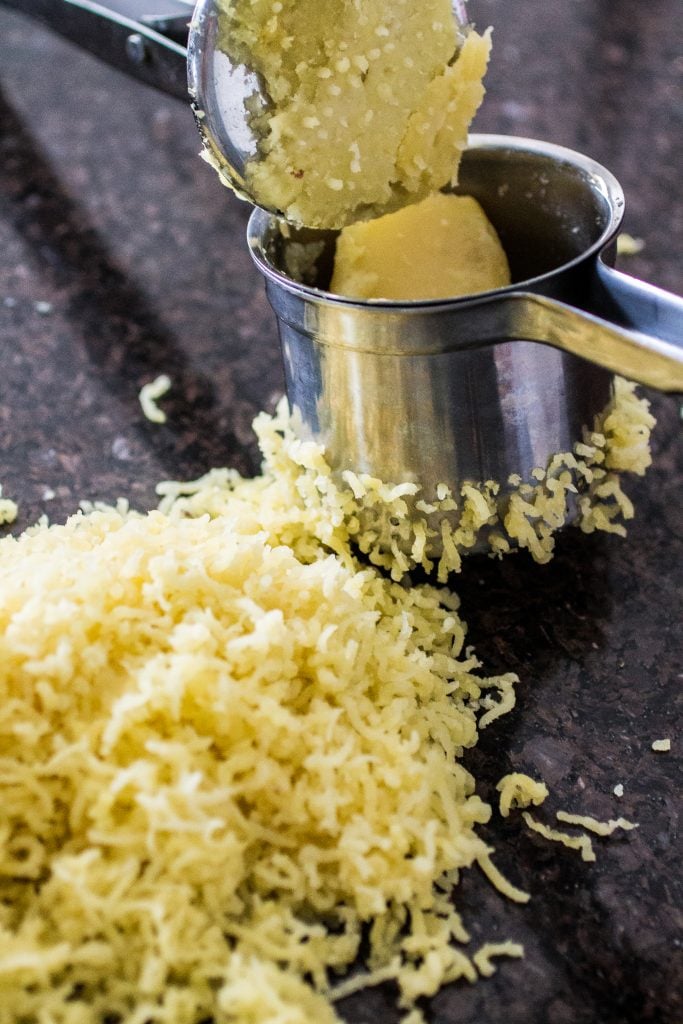
Remember that weird gadget you have in the back of your cabinet, that you never use? Well, time to put that baby to work. A fine potato ricer will produce tiny crumbles of potato, which is what we want for a soft, light gnocchi. You don’t want big pieces of potato, as the resulting dough won’t be as smooth and easy to roll without breaking. And speaking of smooth dough…
Egg yolks are your friends! (Unless you’re vegan, of course…)
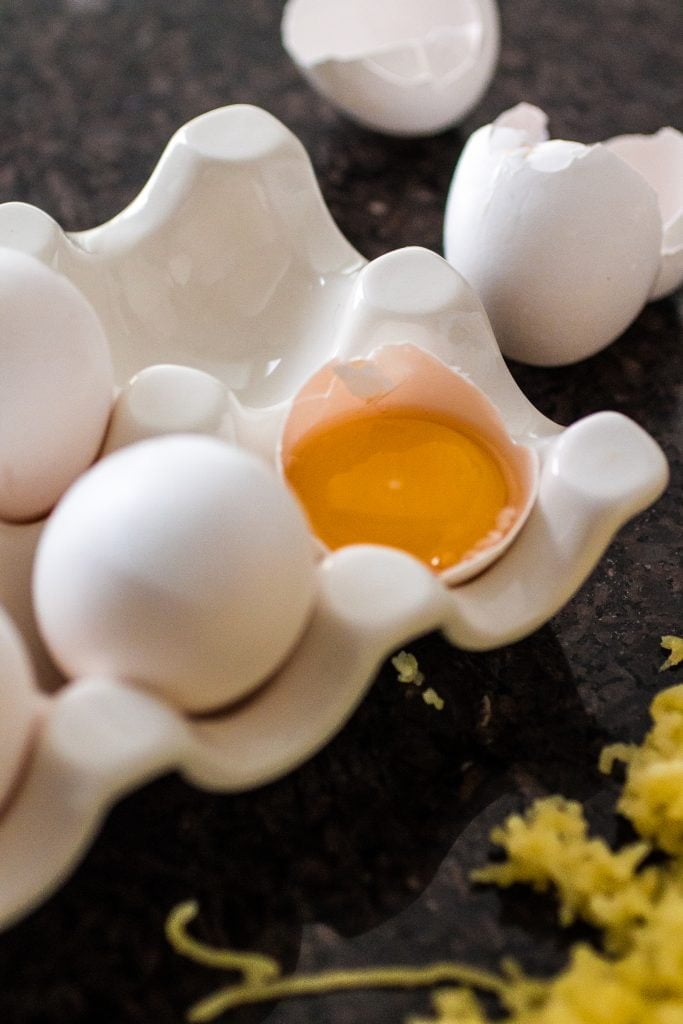
Egg yolks will help you make a smoother dough and the resulting gnocchi will hold their shape better. The snobs, however, claim that gnocchi without eggs are the softest. I always use yolks. If you’re vegan or trying to achieve the pillowyest gnocchi, just skip the yolks. And then tell me what you thought of the results! :)
WHAT KIND OF FLOUR AND HOW MUCH?
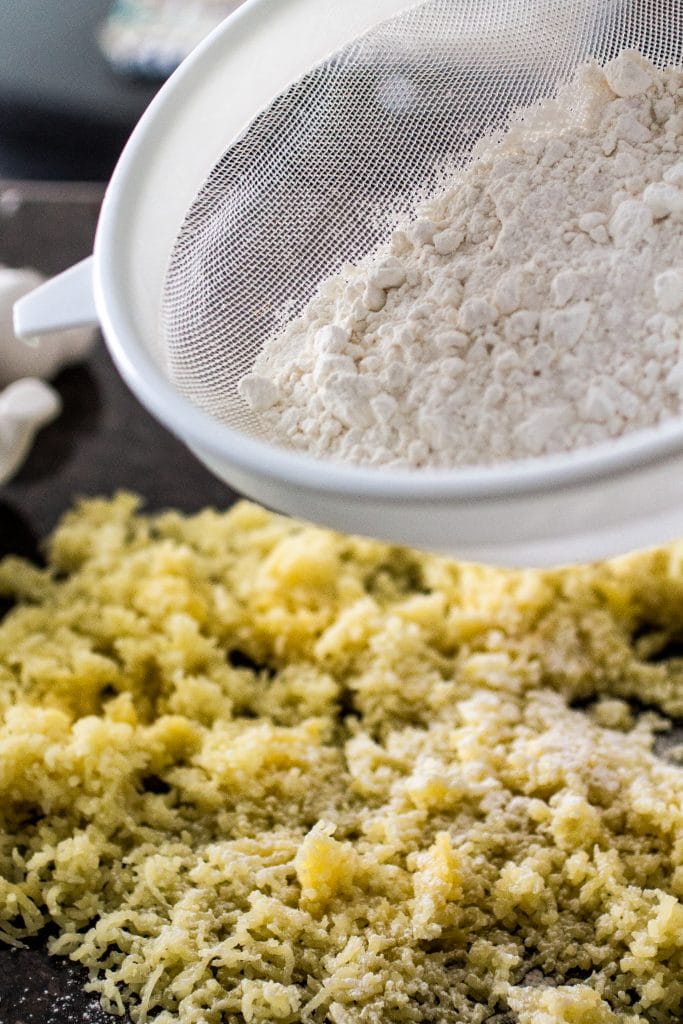
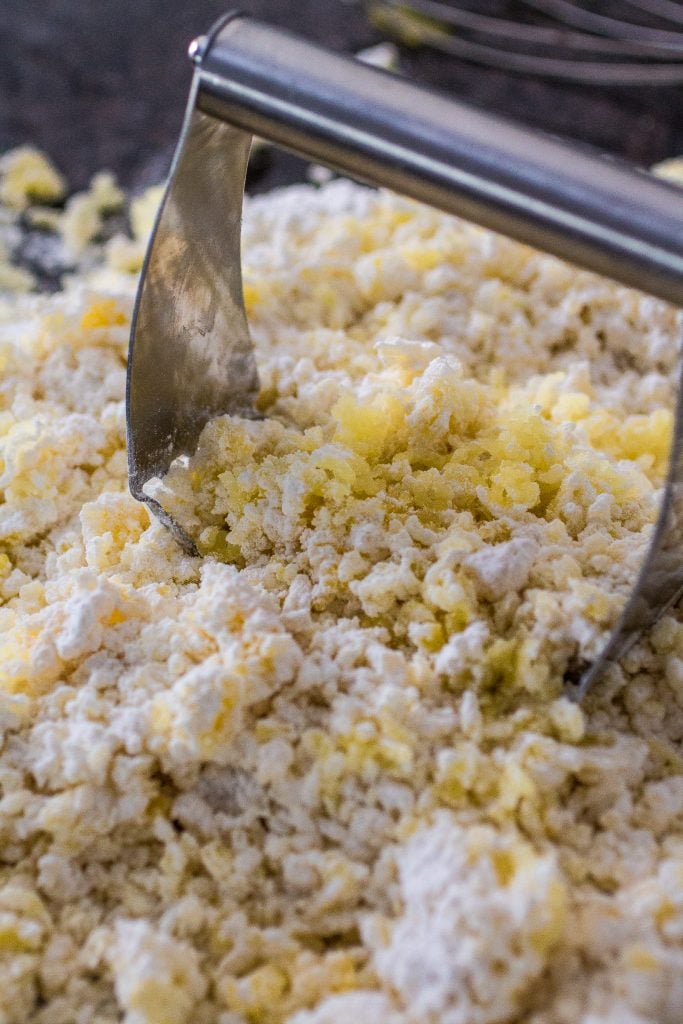
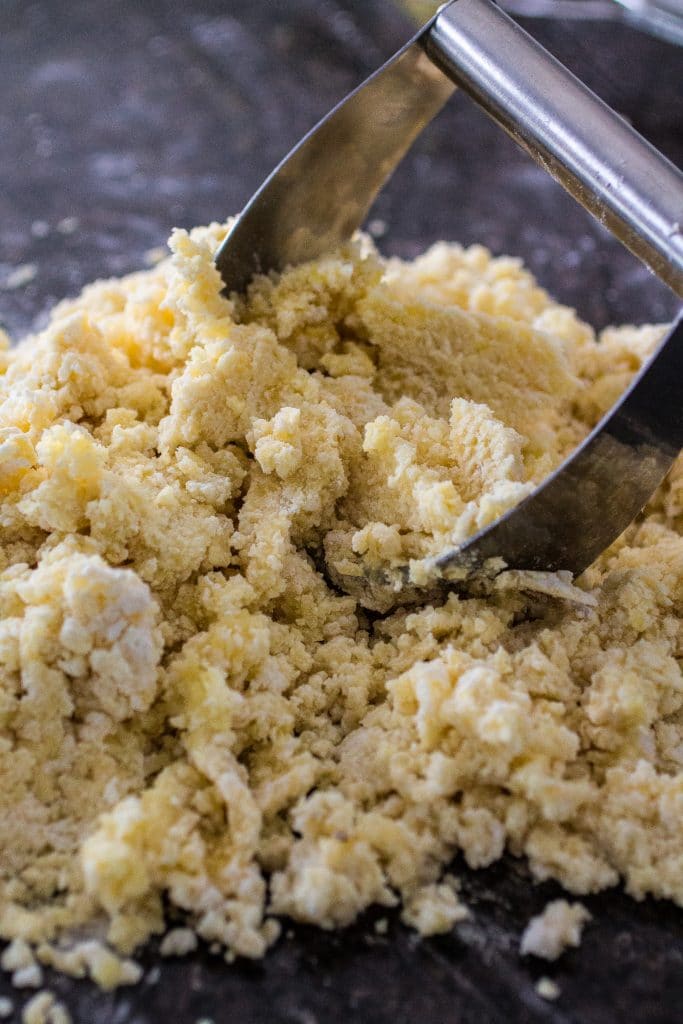
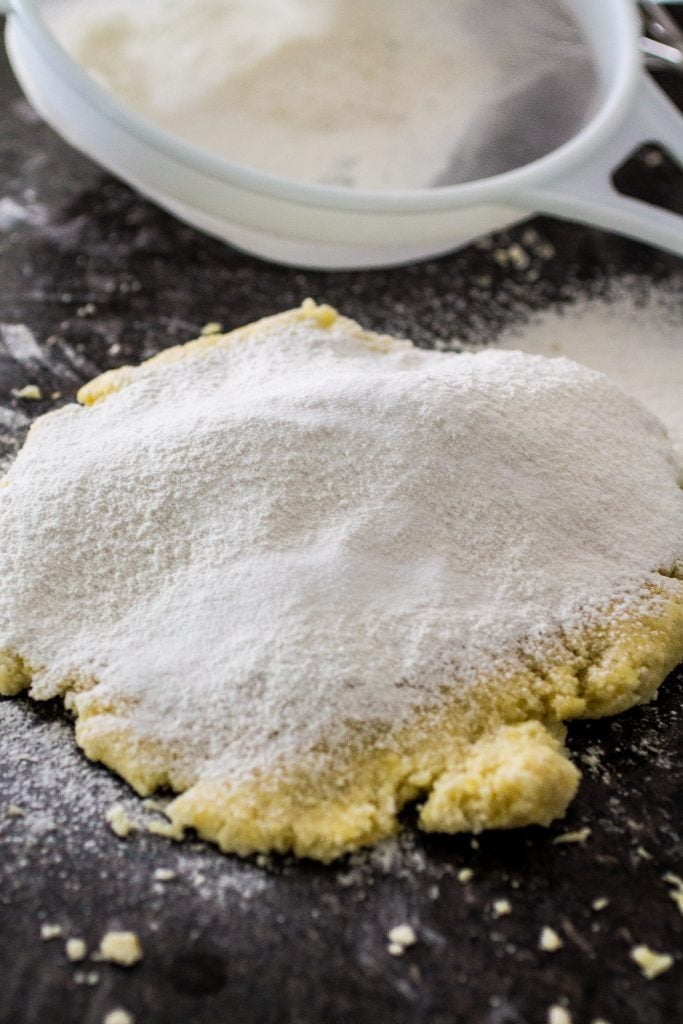
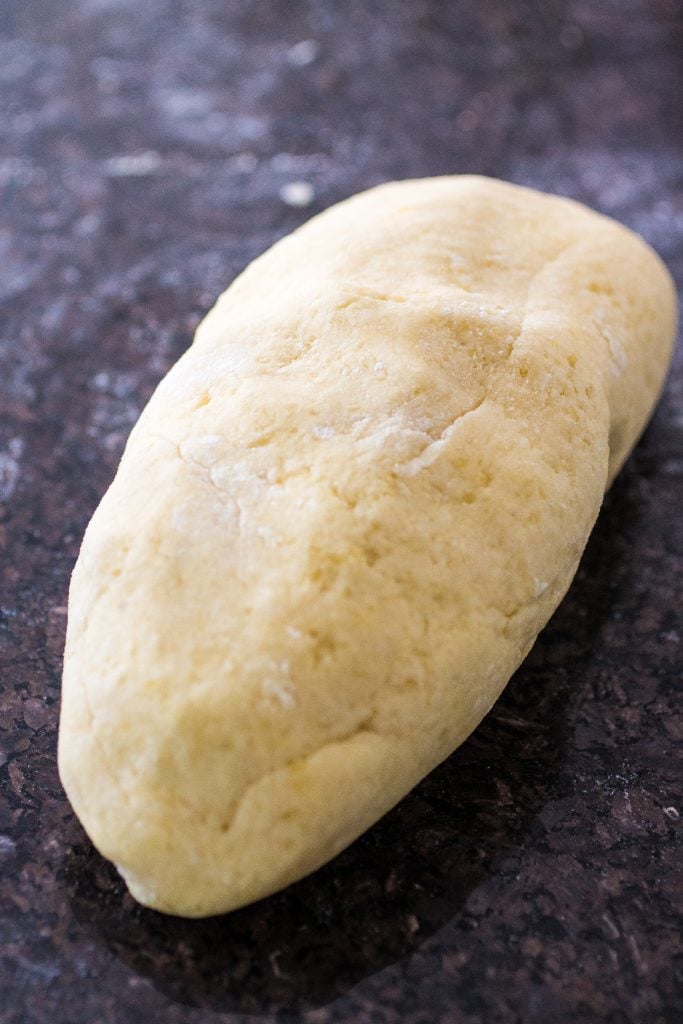
There is really no right answer here. In fact, every time I make gnocchi, it changes. You might need more or less flour, depending on the potatoes and how dry or moist they are. Even the weather can influence how much flour you would need! For this batch, I used 1 and 1/2 cups of flour for 5 potatoes (about 2lbs). I also try to use 00 Flour (low protein content = softer gnocchi) whenever possible, but cake flour is a good substitute. If you only have all-purpose, that will also do! The secret here is to add the flour in parts. Like Canora, I add my flour in 3 parts. The first time I sprinkle 1/2 cup flour (sifted) all over the “mashed” potatoes, which are spread into a single layer on the counter. Then, using a pastry cutter, work the flour into the potatoes, being careful not to overwork it. Next, I add the second 1/2 cup of flour and I repeat the process until all the flour is incorporated into the potatoes. At that point, I let go of the pastry cutter and, using my hands, I form a dough ball and I sprinkle the final amount of flour, adjusting to more or less depending on how much flour the potatoes are absorbing. After that, you fold and press the dough a few times, just until smooth and sticking to your hands and counter. No kneading, as you don’t want to develop gluten, who is the enemy of pillowy gnocchi!
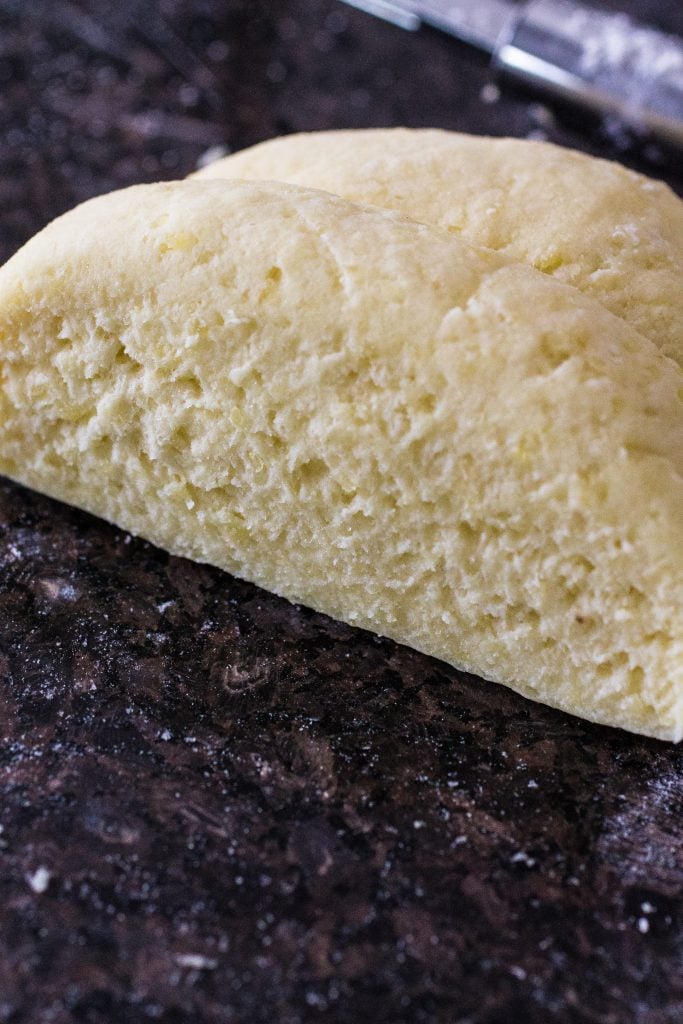
Look how nice that dough looks, with all the little air pockets! Oh yeah, my friends, we are on our way to gnocchi nirvana!
ROLLING, CUTTING AND, FINALLY, COOKING!
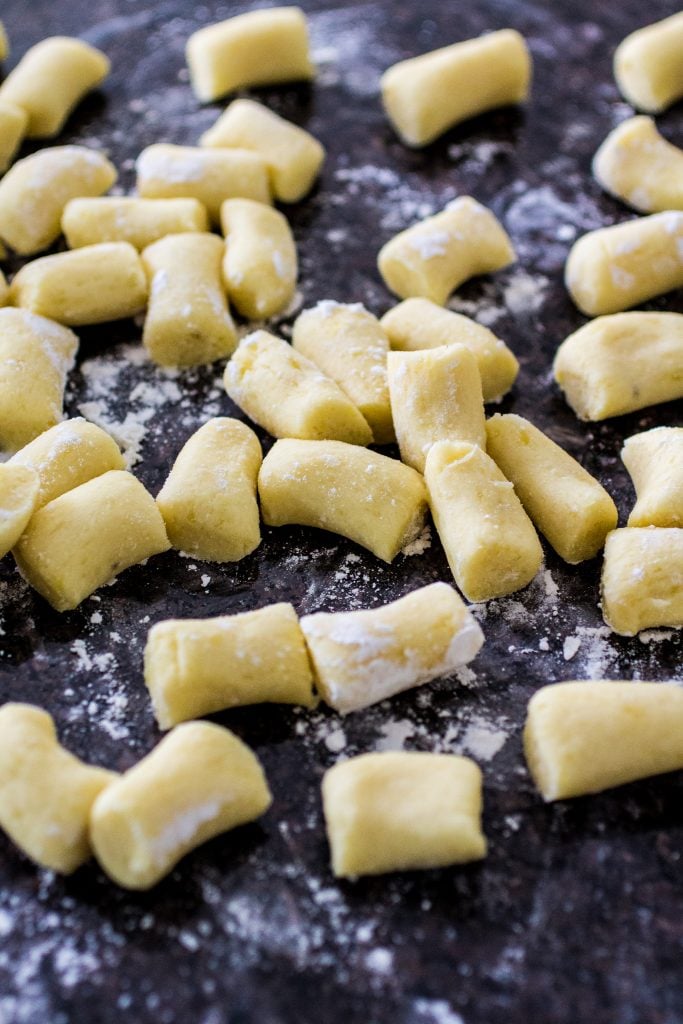
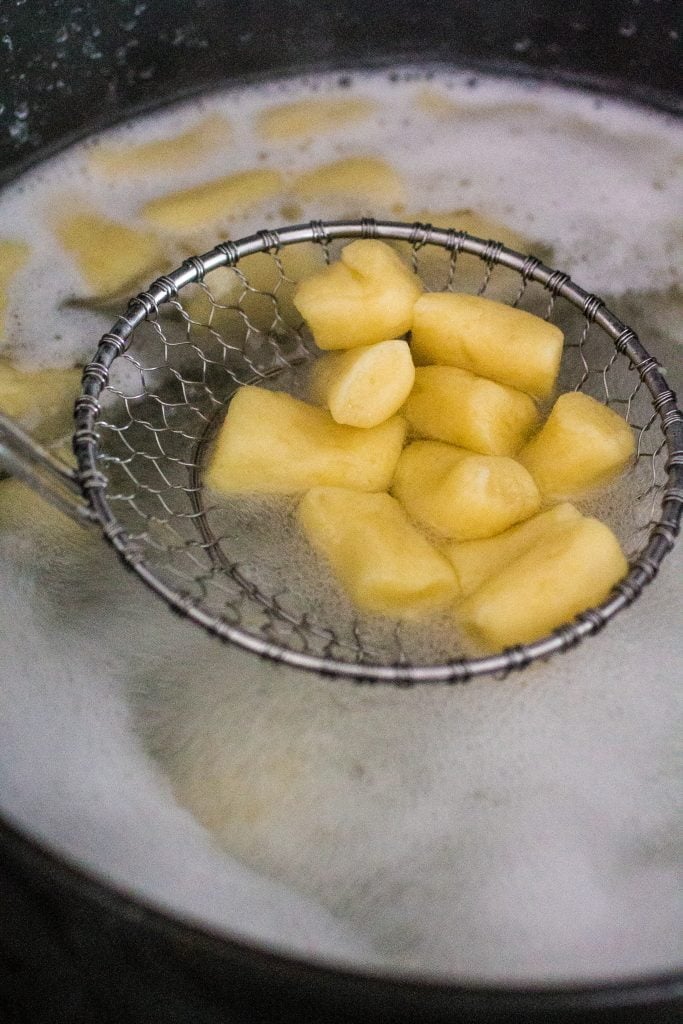
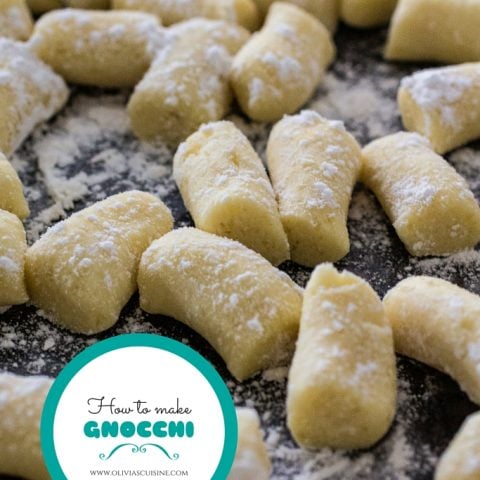
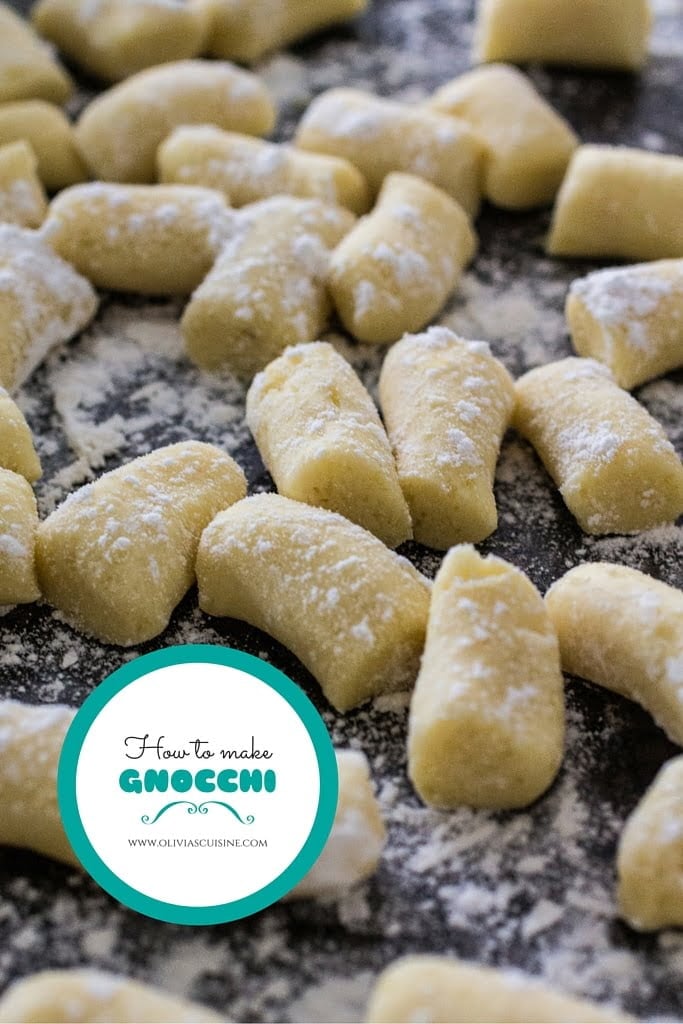
The next steps are pretty straight forward. Roll the dough into a big log and then cut it into smaller parts, about 1 inch thick slices. Using the palm of your hands, each slice will be rolled into a long dowel and cut into 1 inch thick gnocchi. No need to measure them. Different sizes is okay, it shows they are homemade and rustic! :) Cook your gnocchi in a pot of salted boiling water until they float. Then, toss them with your favorite sauce. If you’re not using them right away, shock them in ice water after taking them out the pot and store them in the fridge until ready to use (preferably the same day or next day). If you want to make gnocchi, but don’t plan on using them soon enough, just freeze them raw. Place the raw gnocchi on a parchment paper-lined baking sheet, making sure they are not touching. Then freeze until they are solid and place in a resealable freezer bag. They will keep well for about a month. When ready to cook, toss them into the boiling water. No need to thaw before cooking!
So what do you think? Have I inspired you to dust off the apron and get your hands dirty? I hope so!
